
One summer trend that is all over the place right now is bracelet stacking…it seems the more the merrier! I have two DIY projects to share with you guys today!
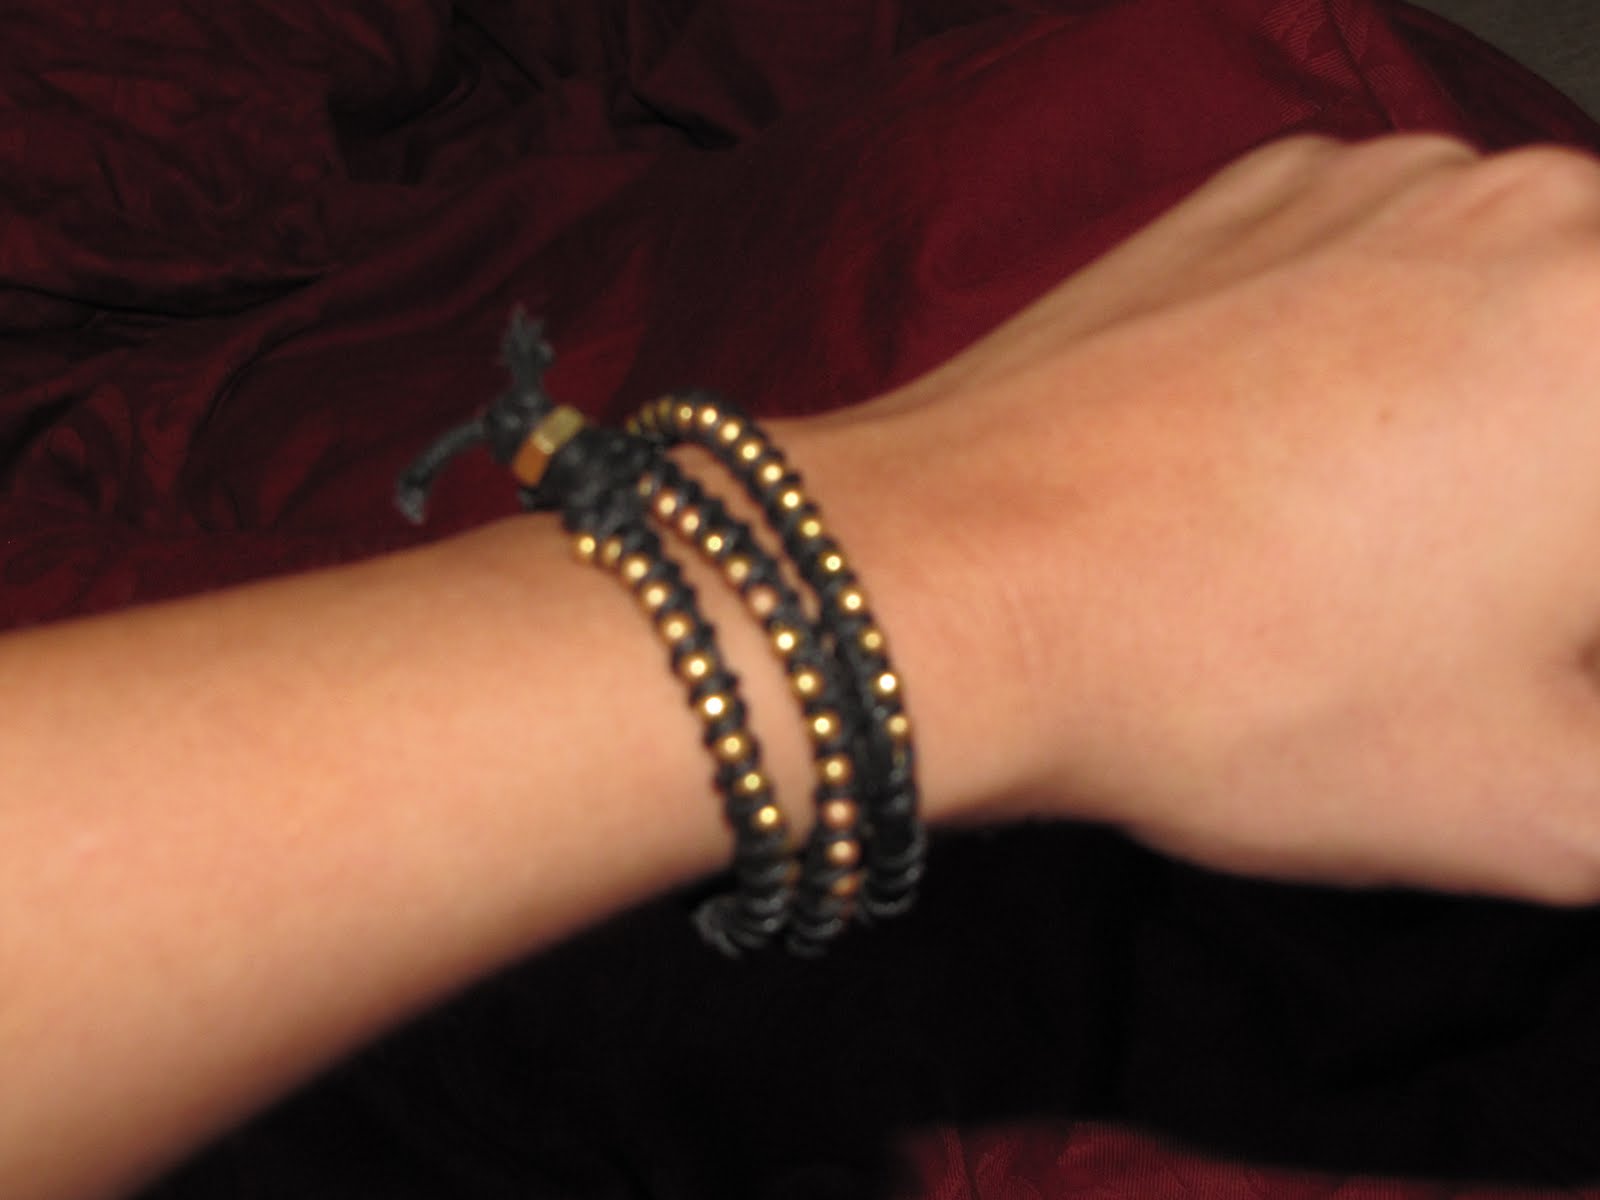
One of my favorite bracelet-stacking looks is the wrap-bracelet, such as this Chan Luu piece, which depending on style or color can range about $215-$250.

You can also find similar mock bracelets from Nordstrom BP for about $15-$20. To me this is just way too expensive for a bracelet made of thread and beads. I did some creeping and found a DIY tutorial, and I’m here to share my attempt with you that could fit your taste. If you didn’t want to try to get them personalized here or somewhere else!
First you will need:
The next bracelet is a take on an Aurélie Bidermann piece ($395), and it is a modern-day take on a friendship bracelet! (Awww remember those days?)

You will need:
— a gold chain bracelet — ( I didn’t have one I was willing to sacrifice so I bought a chain and a clasp from Michael’s)
— embroidery thread — ( I used six colors. You will need 2 sets of 15 strands that are 4 times the length of the chain or bracelet.)
— 2 bobby pins — ( I already haz dees.)
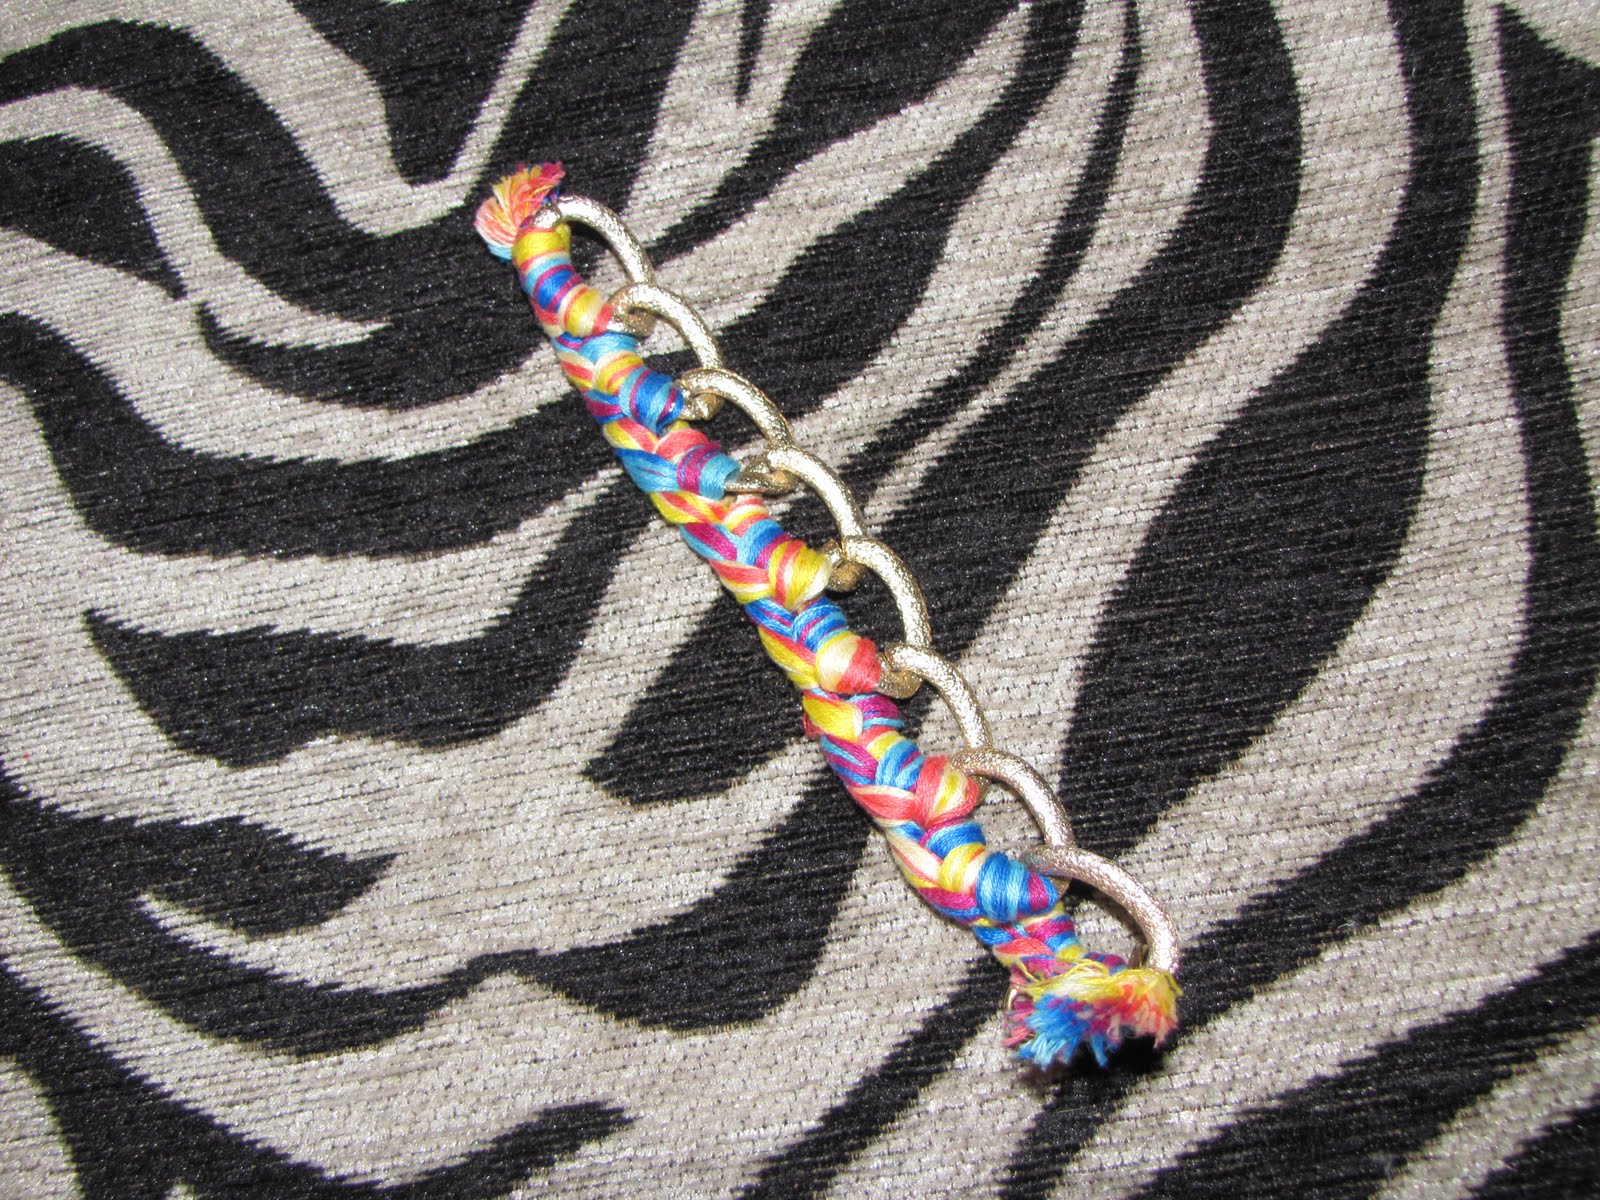

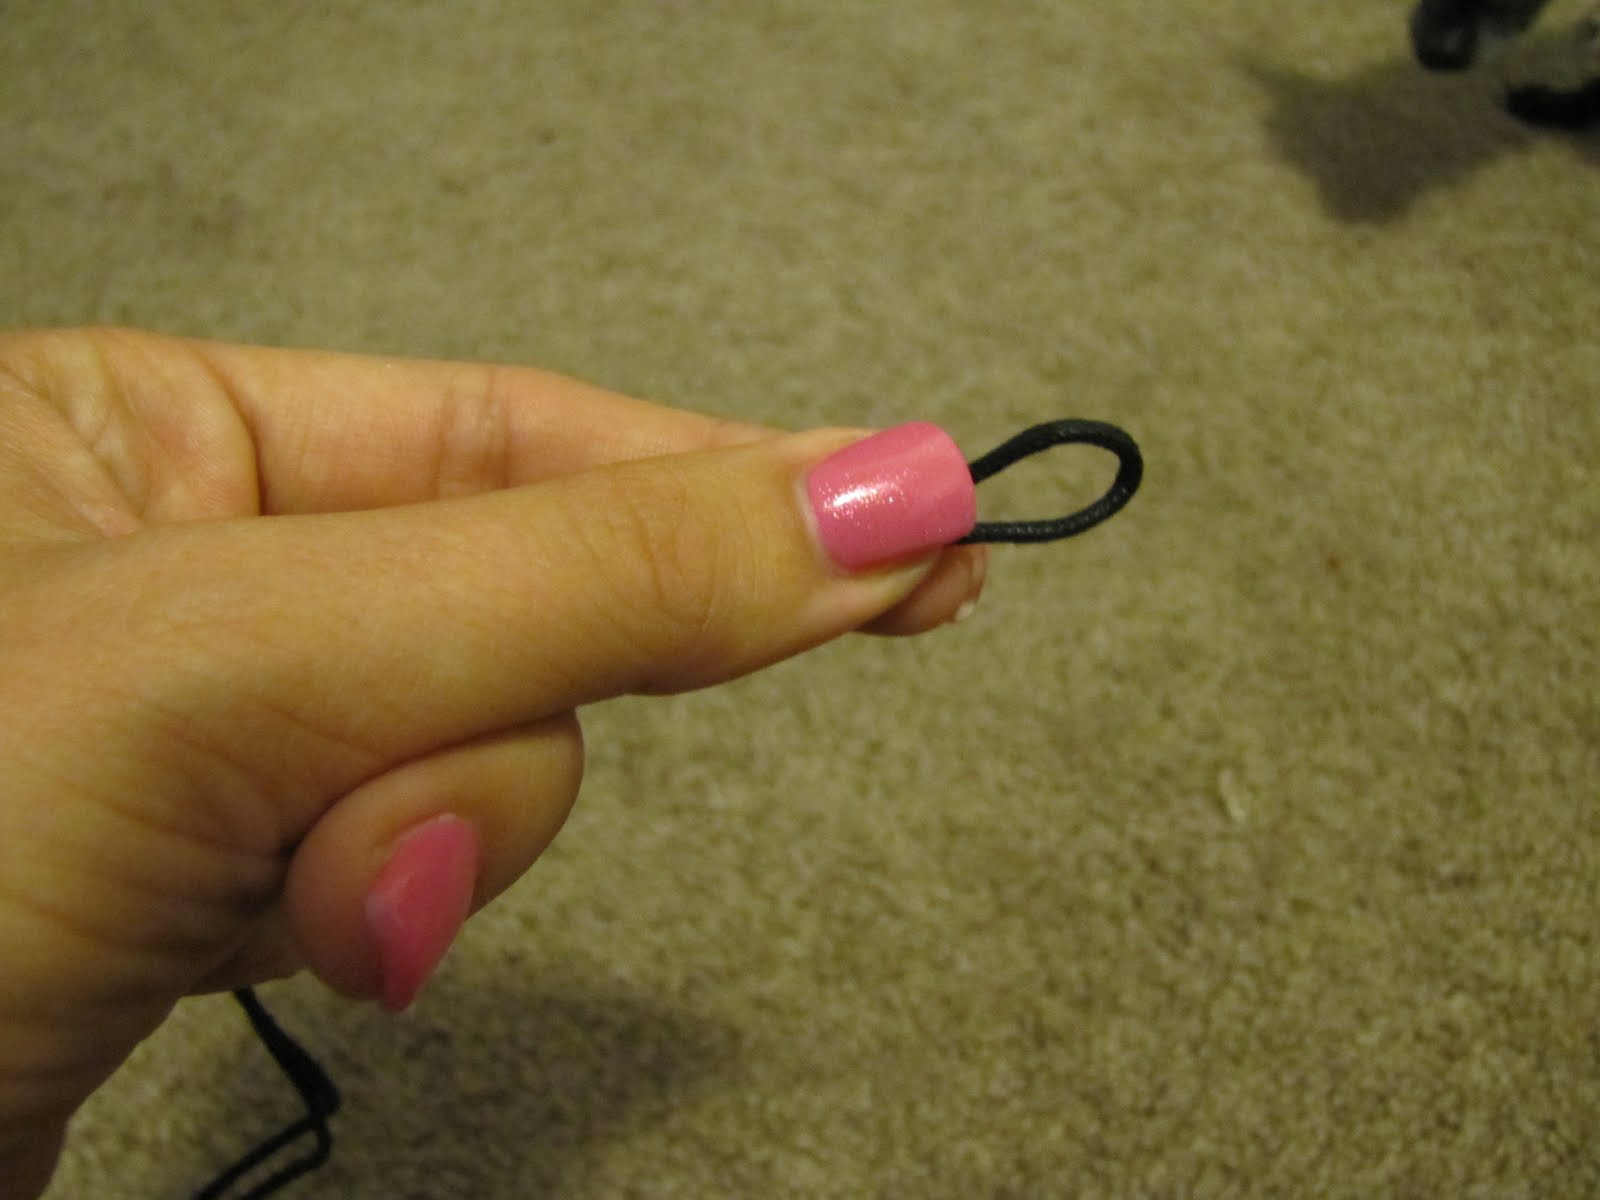
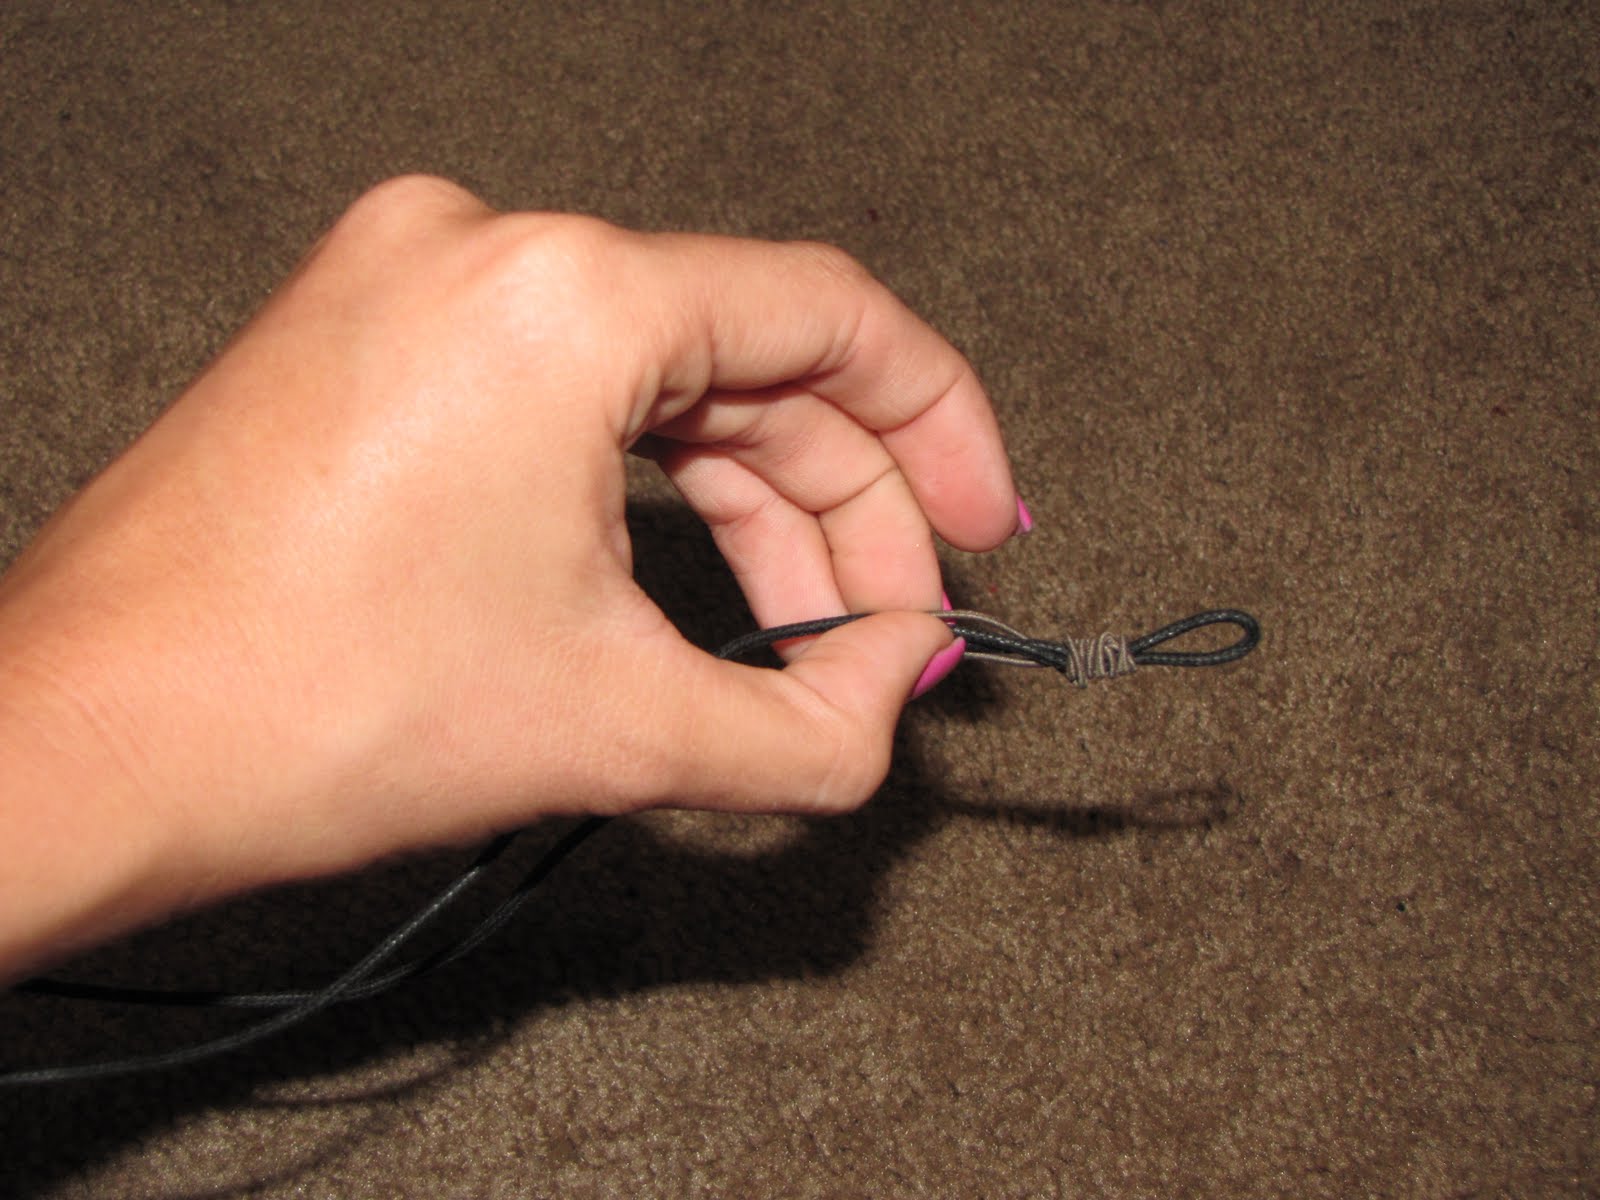
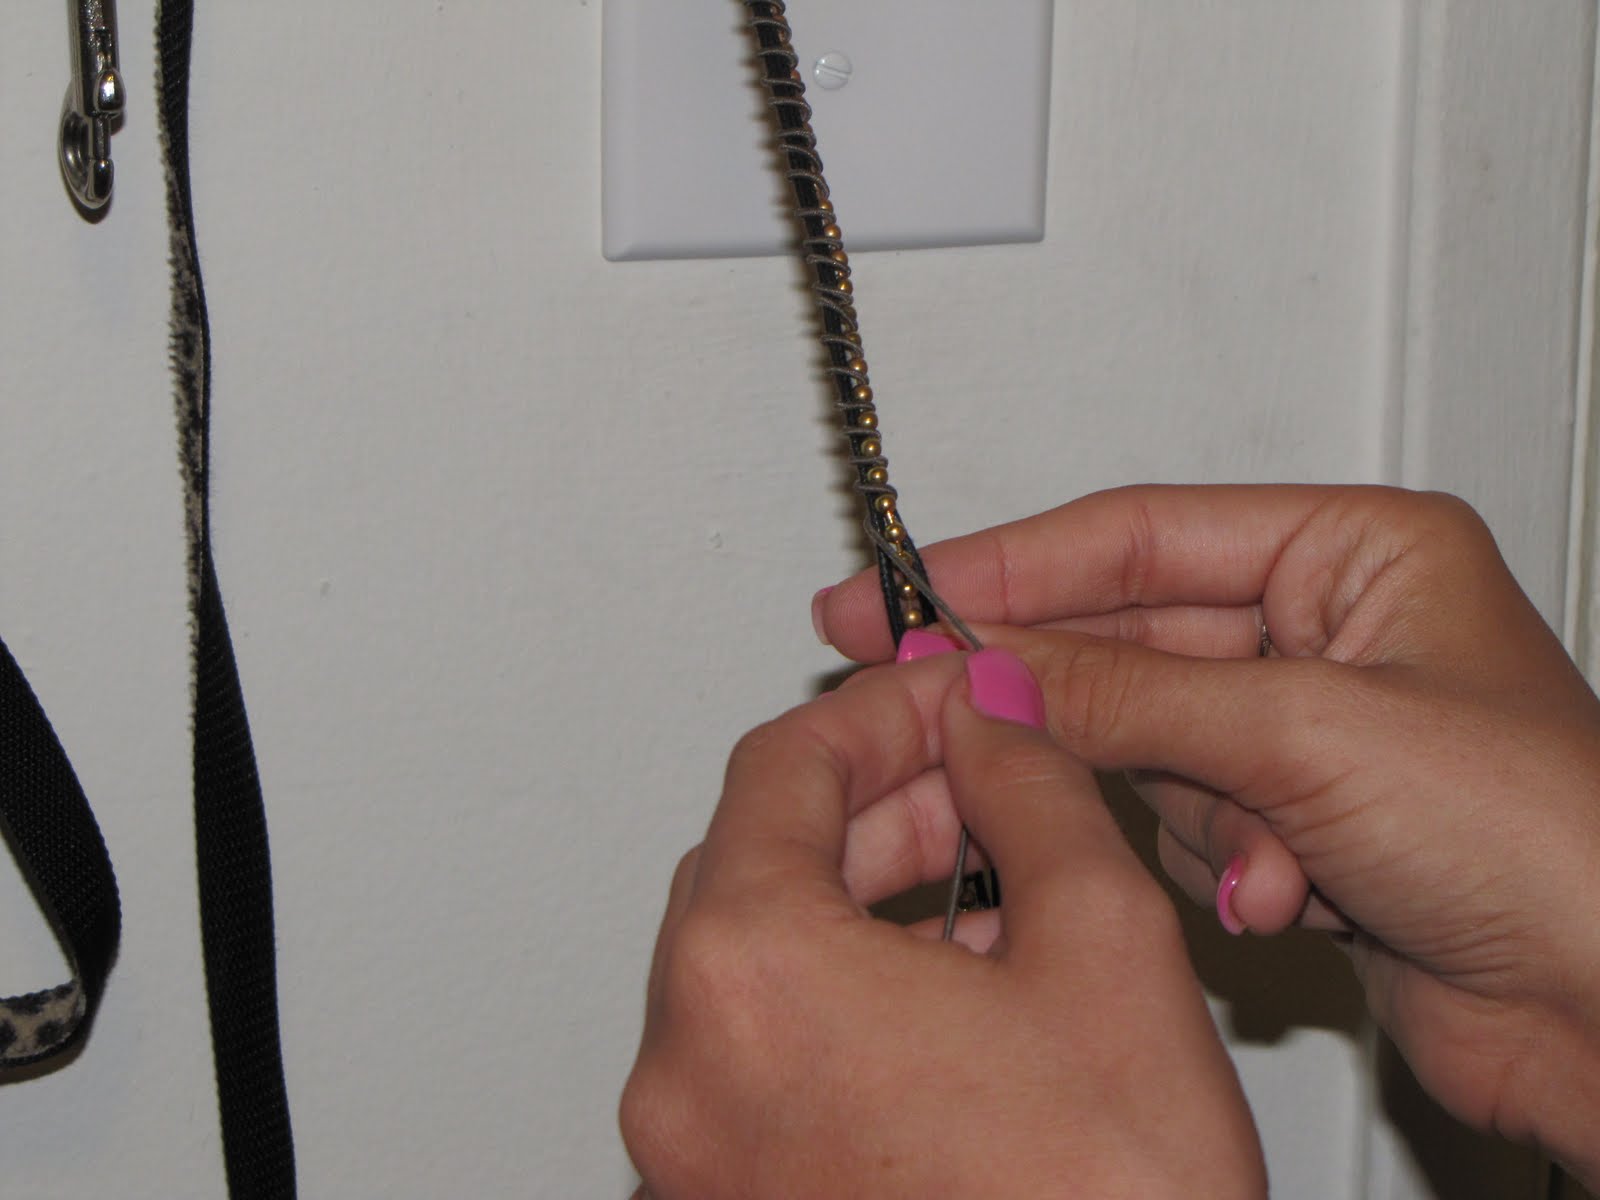
First tie all of the threads in one big knot, but keep them separated into the two colors or color scheme you want them in. Put a bobby pin over each chunk of thread (this is to help weave the threads through the chain, otherwise it would be a huge mess.) Lay your threads to the left of the bracelet. In the first link hole, pull the first color you want to use UNDERNEATH the chain, then over and lay it to the left. Still to the side of the chain, lay the second color you want to use over the first color, then do the same thing and pull it UNDERNEATH the chain, then OVER and lay it to the left. Repeat but work your way down the chain, using each and every hole. Once you are at the end, tie a knot and snip and you are FINISHED!
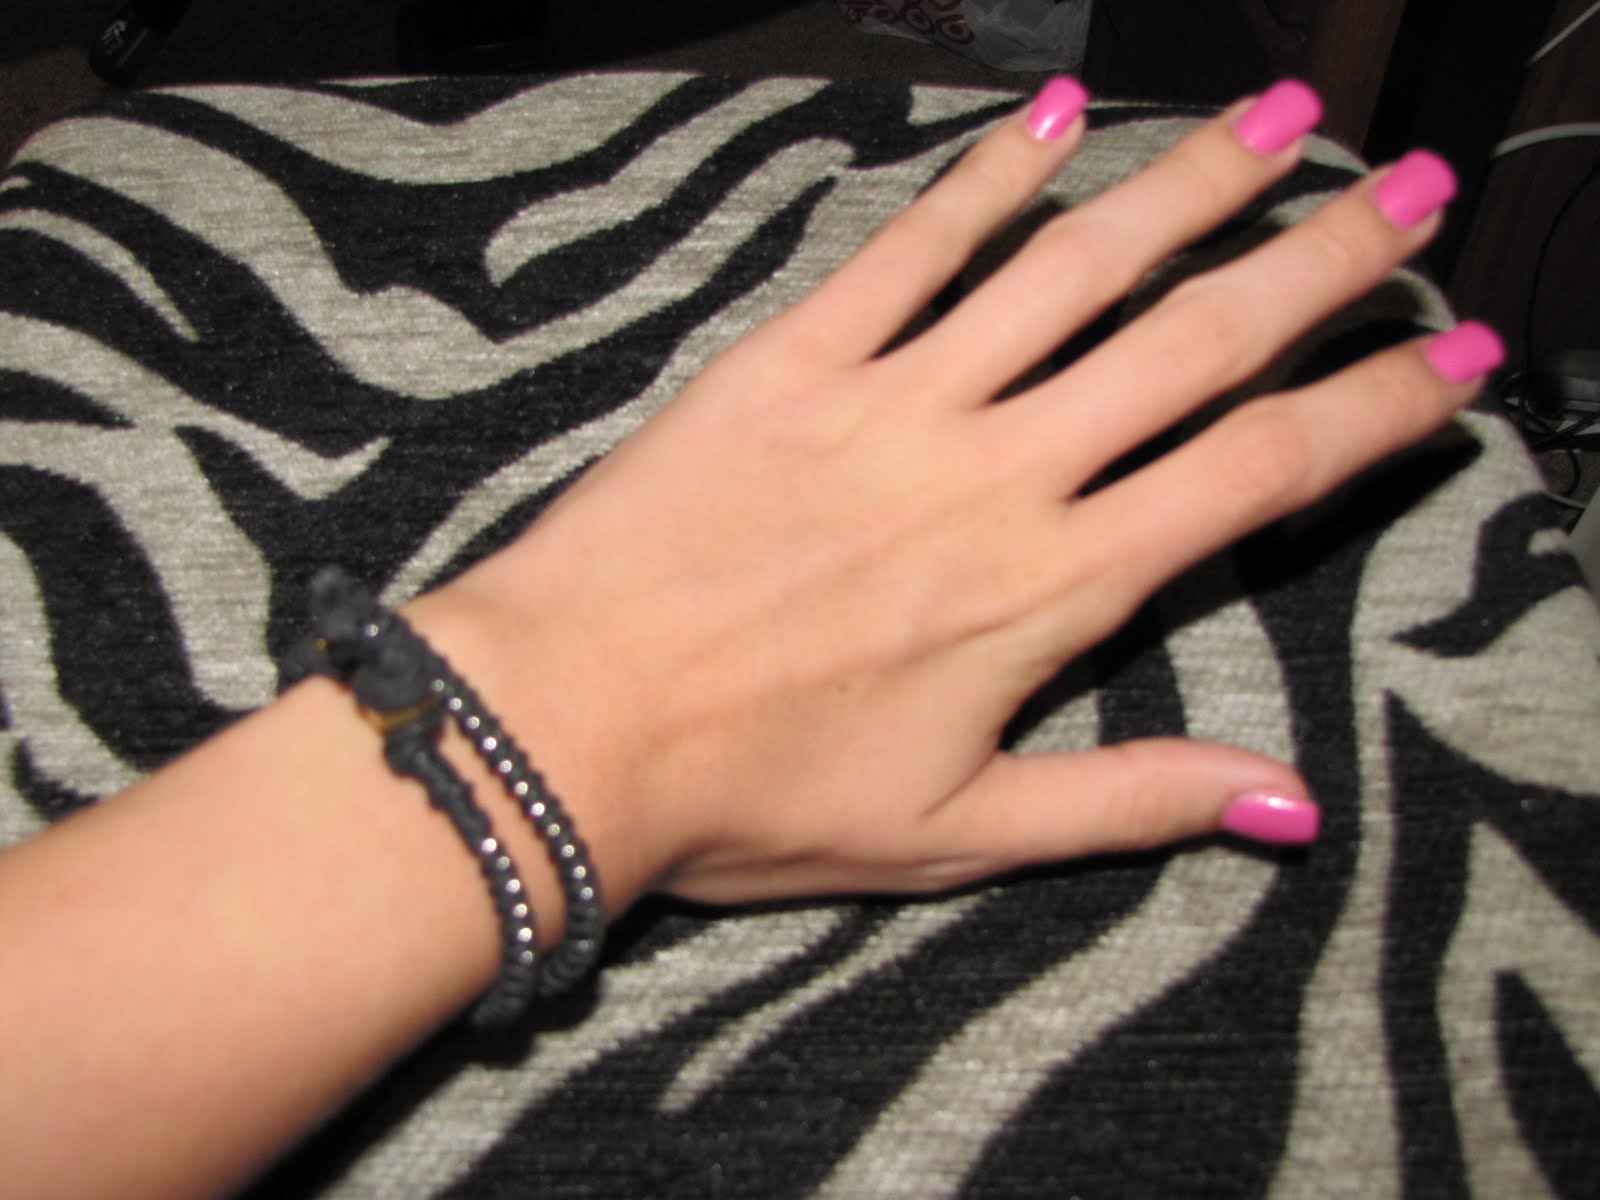
And there you have it! Cheap-DIY bracelets for your bracelet stacking needs.
xoxo,
Hannah

Nice :)xxx
Marga